Exploring Handcrafted Wheelthrown Pottery Techniques
Pottery has been a cherished craft for thousands of years, allowing artisans to create functional and decorative pieces from clay. Among the various methods of pottery making, wheelthrowing stands out for its unique ability to produce symmetrical forms with a personal touch. In this blog post, we will explore the intricate techniques of handcrafted wheelthrown pottery, providing insights for both beginners and seasoned potters alike.
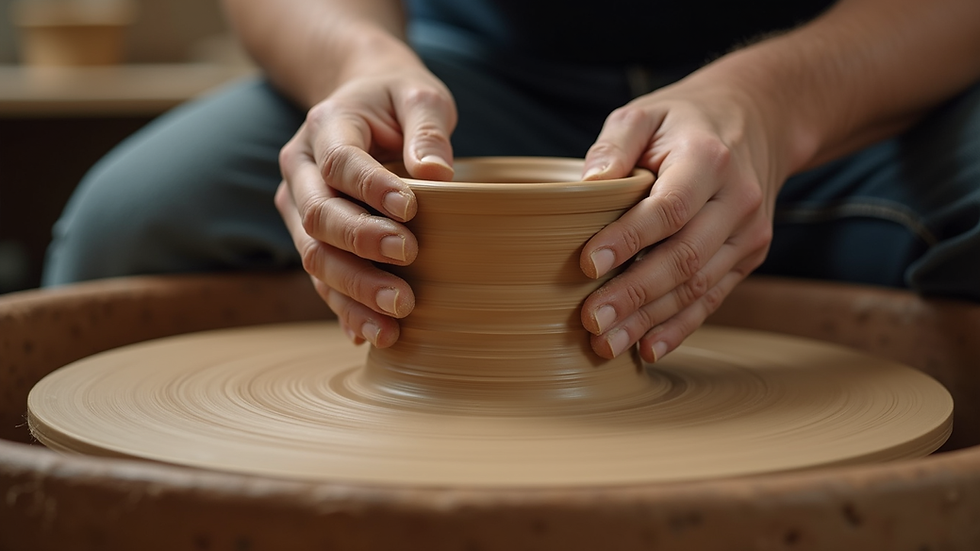
Understanding Wheelthrowing
Wheelthrowing is a technique that involves shaping clay on a rotating wheel. This method allows potters to create a variety of forms, from bowls and vases to intricate sculptures. The process is both meditative and technical, requiring practice and patience to master.
The Basics of Wheelthrowing
Before diving into advanced techniques, it's essential to understand the basic components of wheelthrowing:
Potter's Wheel: The primary tool used in this technique, which spins the clay as the potter shapes it.
Clay: Various types of clay can be used, including stoneware, earthenware, and porcelain. Each type has its unique properties and firing temperatures.
Tools: Essential tools include a rib, wire cutter, sponge, and trimming tools, which help in shaping and finishing the pottery.
Preparing the Clay
The first step in wheelthrowing is preparing the clay. This involves wedging, a technique used to remove air bubbles and create a uniform consistency. Properly wedged clay is crucial for successful throwing, as it ensures even pressure during shaping.
Wedging: Knead the clay by pushing it down and folding it over itself repeatedly.
Shaping: Form the clay into a ball, which will be placed on the wheel.
The Wheelthrowing Process
Once the clay is prepared, it's time to start the wheelthrowing process. Here’s a step-by-step guide:
Centering the Clay
Centering is one of the most critical skills in wheelthrowing. It involves placing the clay on the wheel and using your hands to shape it into a centered mass.
Position the Clay: Place the wedged clay ball in the center of the wheel.
Start the Wheel: Turn on the wheel to a moderate speed.
Apply Pressure: Use your hands to apply pressure to the clay, pushing it down and inward until it is centered.
Opening the Clay
Once the clay is centered, the next step is to create an opening for your piece.
Create a Hole: With your fingers, press down into the center of the clay to create a hole.
Expand the Opening: Gradually widen the hole while keeping the walls of the clay even.
Pulling Up the Walls
This step involves pulling the clay upwards to form the walls of your pottery piece.
Use Your Hands: With one hand inside the piece and the other outside, gently pull the clay upwards.
Maintain Thickness: Keep an eye on the thickness of the walls, ensuring they are even throughout.
Shaping the Piece
At this stage, you can begin to shape your pottery into the desired form.
Bowls: For bowls, flare the walls outward.
Vases: For vases, pull the walls higher and taper them inward at the top.
Trimming and Finishing
After the piece has been thrown, it needs to be trimmed and finished.
Leather Hard Stage: Allow the piece to dry until it reaches a leather-hard state, where it is firm but still workable.
Trimming: Use a trimming tool to refine the shape and remove excess clay from the base.
Smoothing: Smooth the surface with a sponge or rib for a polished finish.
Advanced Techniques in Wheelthrowing
Once you have mastered the basics, you can explore advanced techniques to enhance your pottery skills.
Altering Forms
Altering forms involves manipulating the shape of the piece after it has been thrown. This can include:
Adding Texture: Use tools to create patterns or textures on the surface.
Combining Forms: Join two pieces together to create unique shapes.
Glazing Techniques
Glazing is an essential part of pottery, adding color and a protective layer to your pieces.
Dipping: Dip the piece into a glaze solution for an even coating.
Brushing: Use a brush to apply glaze for more control over the design.
Spraying: For intricate designs, spraying glaze can create beautiful effects.
Firing Your Pottery
Firing is the process of heating the pottery in a kiln to harden it. There are two main types of firing:
Bisque Firing: The first firing, which removes moisture and hardens the clay.
Glaze Firing: The second firing, which melts the glaze and creates a glass-like finish.
Tips for Successful Wheelthrowing
To help you on your wheelthrowing journey, here are some practical tips:
Practice Regularly: Like any skill, regular practice is key to improvement.
Watch Tutorials: Online videos can provide visual guidance and inspiration.
Join a Community: Engaging with other potters can offer support and feedback.
Conclusion
Handcrafted wheelthrown pottery is a rewarding craft that combines creativity with technique. By mastering the basics and exploring advanced methods, you can create beautiful pieces that reflect your personal style. Whether you are a beginner or an experienced potter, the journey of wheelthrowing is filled with endless possibilities. So, gather your materials, find your rhythm on the wheel, and let your creativity flow!


Comments